Backlit Decals

What Are Backlit Decals?
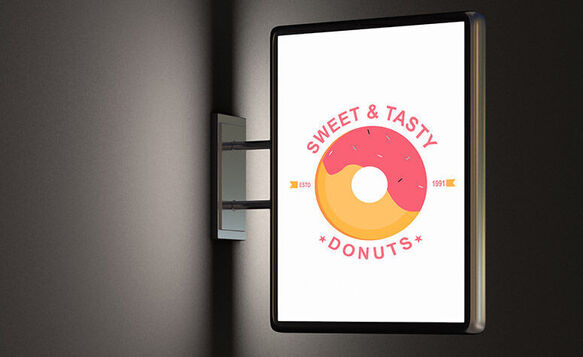
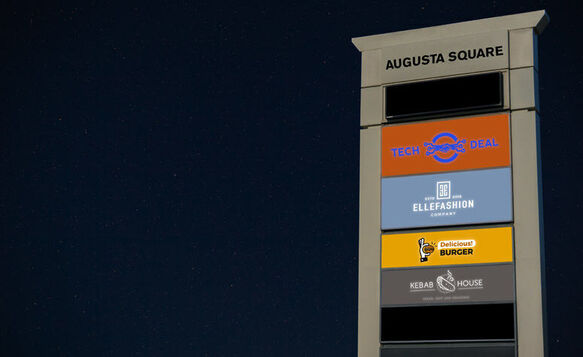
Make your sign shine day or night with a custom backlit decal (light box not included). Made from 3.5 mil adhesive vinyl, backlit decals are designed to withstand exposure to heat from light sources as well as indoor and outdoor elements. Because of the flexible property of the backlit decal, you can easily apply them to windows, light box sign panels or other smooth translucent surfaces for a fantastic light up effect.
Easy to install on acrylic, glass or molded resin, you’ll get a great looking sign that will last as long as you need. If you need to switch out a backlit decal for another, removal is easy. Printed using the best printing technology using UV inks, your backlit sign will display beautifully both day and night.
Backlit Decal Features

-
![Made for Backlit Signage]()
Made for Backlit Signage
Backlit decals are designed specifically to shine. The semi-translucent vinyl defuses light evenly, making for brilliant advertising and business displays.
-
![Easy to Install, Easy to Remove]()
Easy to Install, Easy to Remove
Semi-permanent adhesive, using a solution of water and dish soap makes it easy to install your backlit decal. Remove and replace your decal with a new one as often as you like!
-
![Full Color Printing]()
Full Color Printing
Vibrant and durable, your backlit decal will be printed in high definition color with UV ink.
-
![Standard and Custom Shapes]()
Custom Cut
Round or oval light box? No problem. In fact no matter what shape your light source, you can customize your backlit decal to fit perfectly. If you need assistance with this, just ask one of our design professionals—it's free!

Day & Night Visibility
Backlit decals are perfect for showing off your advertisement day and night.
Although we currently do not offer the light box to go with these signs, you’ll be pleased with the result when using a backlit decal on an existing light box or light source.
Made from durable vinyl designed to last over 3+ years and avoid cracking and embrittlement.
UV and water resistant.
Popular Templates for Backlit Decals
Are you coming up blank with a unique design for your backlit decal? Don’t worry, Signs.com can help! Check out our customizable backlit decals templates.
How to Use Our Templates for Backlit Decals
Transform our backlit decal templates into your own one-of-a-kind design by following these steps.
- Click on your preferred design from our backlit decals template page to access our design tool. We recommend that you do this on your desktop computer.
- Specify the size, quantity, shape, and your preferred accessories (if any) under “Configuration”.
- Use the rest of our design tool’s features to personalize your chosen backlit decal template.
- Click “View Proof” to check your progress. You can also toggle the Ruler, Bleed, and Grid lines to check whether your design elements are properly placed.
- Once you’re satisfied with your design, click “Save & Continue”. Otherwise, click “Save” so you can go back to your unfinished work later.
Easy to Use Design Tool
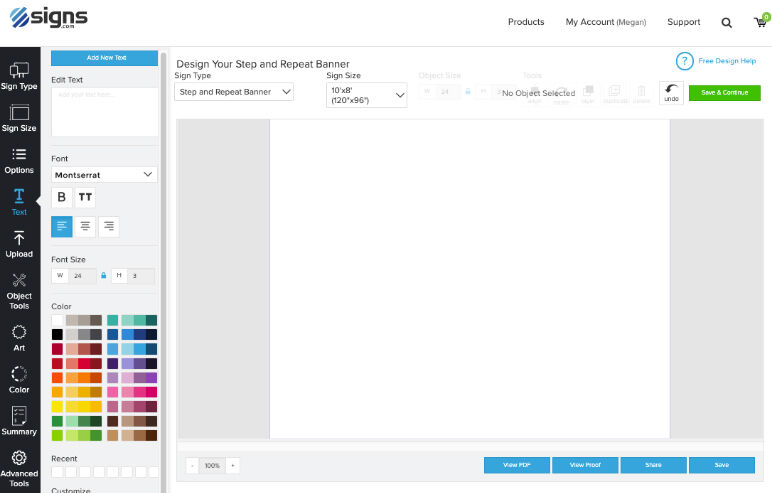
Create your custom backlit decal with our simple and easy design tool. Upload images, create objects, add text, adjust sizing, change color, and so much more!
Free Professional Design Services

Whether you need help uploading your design or are interested in creating something entirely new, our team of professional graphic designers is here to help. Nothing beats free!
Additional Specs
-
Weight:
.08lbs per square foot (about the weight of 8 quarters)
-
Thickness:
0.006” (about the thickness of 1 sheet of copy paper)
-
Details:
Backlit decal to install over a rigid backlit surface or light box panel. Semi-translucent when backlit, self-adhesive, day and night visibility, removable, adheres to acrylic, glass, polycarbonate and other smooth translucent surfaces
-
Uses:
Indoor/Outdoor. Adheres to light boxes, storefront windows and other smooth translucent surfaces
-
Print Method:
Four color process, eco-friendly, weather, fade and abrasion resistant UV ink
-
Estimated Lifespan:
3+ years with proper placement and care
-
Common Sizes (WxH):
12”x24”, 18”x48”, 24”x72”, measure to cut
Simple Installation with No Professional Help Required
The following installation instructions will help you with a quick and easy installation of your custom backlit decal. Instructions will also be included with your order, and you are free to refer to this page or download a PDF of the instructions for assistance. If you are installing a large decal we recommend having at least one other person assist you.
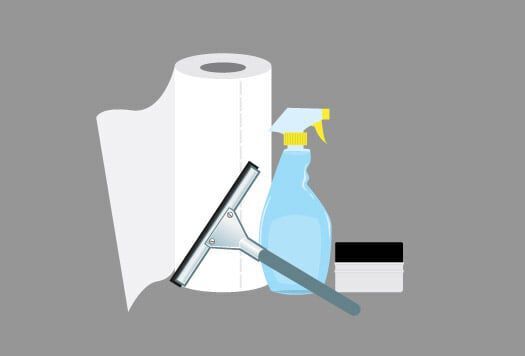
Before you begin to install your custom backlit decal, we recommend gathering the following supplies to help with the process:
- Spray Bottle
- Paper Towels
- Application Squeegee (available for purchase with order)
- Window Squeegee

Begin by thoroughly cleaning the light box panel, acrylic or glass surface you intend to use for your backlit decal—any household window cleaner will work. After cleaning, use a window squeegee to remove excess water or allow appropriate time for the window to air dry.
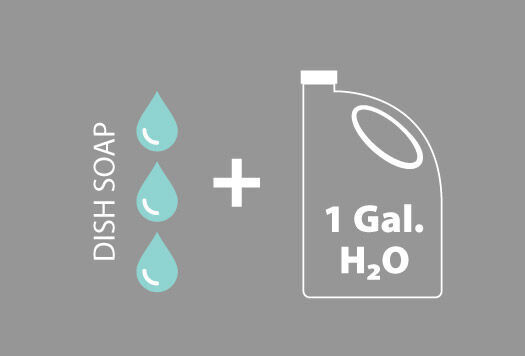
Create a decal application solution by combining 3 drops of dish soap or detergent (not hand soap) per 1 gallon of water and place into a spray bottle.
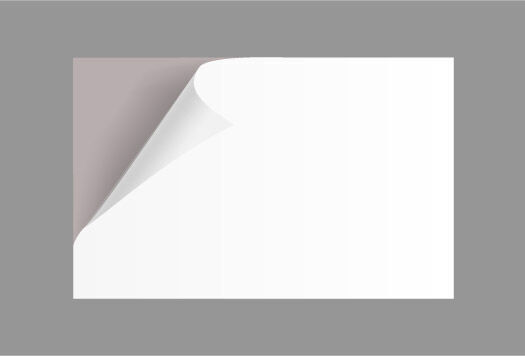
Lay your backlit decal face down on a flat, smooth surface and carefully begin to remove the back liner.

As you are removing the backing, generously apply the application solution to the back of the decal. Next, spray a generous amount of application solution to the desired surface, making sure both the adhesive side of the decal and the panel surface are now sufficiently wet. Do not submerge the decal into water in an attempt to soak the adhesive side.
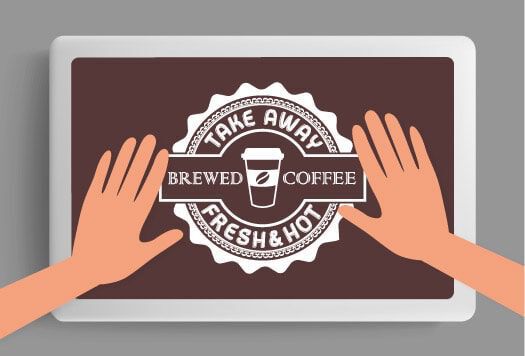
You can now apply your backlit decal to the desired window or glass surface. The application solution will allow the decal to slip and move once it is on the light box panel or window. Use this to your advantage by sliding the decal into the final position you would like it to be.

Once the backlit decal is in its final position, place the removed backing over the face of your decal and use the application squeegee to remove air bubbles/application solution from under the decal. When doing so, start in the center of the decal and press firmly to the right or left edge. Continue this process until you have ran the squeegee over the entire surface of the backlit decal.
Use paper towels to clean the edges of the backlit decal and around the light box or window. This will help remove excess water from the edges of the decal. It may take several days for the adhesive to fully dry and bind to the panel or backlit surface.
Download or Print Backlit Decal Installation Instructions PDF
Care
To increase the longevity of your backlit vinyl decals, we recommend regularly cleaning them with a damp, non-abrasive cloth or rag. Gently wipe the decal down to remove dirt and dust. Do not power wash the decal, as doing so may cause it to tear or dislodge from the surface of the sign. Power washing might also ruin the light source behind the backlit panel. If you need to remove or replace your backlit decal, simply peel it away from the surface. In some cases, a sharp edge or heat source such as a blow dryer may be needed. After removing the decal, clean the surface with any standard window cleaner.

Why Signs.com?
Questions and Answers
We offer design services with prices ranging from $10 to $20 with two free mock-ups. The amount paid for the design service will be credited back upon placing the order for the product. Please send us the design through Contact Us or you may also reach out to us via phone 1-888-222-4929 or live-chat, so we could check your design, as we may not be able to accommodate requests involving extensive design work, such as complex logo or image creation..
I recommend that the material where the backlit decals will stick must be purchased separately. The acrylic signs would have a different effect than what you plan to have or do.
Currently, we do not offer the light box to go with these signs nor do we provide specific recommendations for on how to setup the light box. No worries, you may install to a rigid backlit surface or light box panel and you’ll be pleased with the result when using a backlit decal on an existing light box or light source.
Backlit decals are the perfect option for these. They are removable and have enough strength to stay up when installed outside. This can also be vibrant during the day. The vibrancy of the design would depend on the actual design itself.
We print the backlit decals on semi-translucent vinyl that adheres to light boxes, storefront windows, and other smooth, translucent surfaces.
Should you want to check the different materials we print your orders on, you can request a sample kit for free here: https://www.signs.com/sample-pack/
Leaving some of the areas transparent won't be possible for backlit decals. I would suggest checking our clear window clings cause they would have an option to make some areas clear.
A backlit sign is typically one that is placed in front of a light source. The sign itself will be semi-translucent to allow the light to shine through and illuminate whatever may be printed on the sign.
The most common setup is a light box that consists of a light source within a structure that in some way accommodates a rigid piece of material to be placed or slid into it. You often see these roadside advertising small businesses. The sign itself can either be printed onto a milky white rigid material or a vinyl overlay that is applied to the light box or setup.
Our backlit sign uses the vinyl overlay or decal approach. This means that your sign will be printed onto a piece of adhesive vinyl and can be applied to a translucent rigid material for a light box, window or other surface that has a light source behind it. The material itself is called FLEXcon LITEcal and is a durable material that provides light diffusion and ultimately gorgeous signs.
All of the FAQ on this page will deal with the backlit film we offer and not the alternative solution of printing on a translucent rigid sign or a similar signage solution.
The backlit decal is 3.5 mil (.0035 inches) thick, like a few sheets of printer paper stacked together.
There are several different shapes you can choose from for your backlit decal including Square/Rectangle, Rounded Corners (¼” or 1” radius), and Circle/Oval. You can also choose Custom or Custom with Border.
The Custom shape option allows you to either upload a specific shape to our design tool or have us personalize a shape based on your design. Meanwhile, Custom with Border shape, also known as Halo Cut, adds a thin border around the edge of your design.
Due to the size allowed by our industrial printers, your backlit decal can’t be smaller than 8” x 8” and larger than 60” x 400”.


 Fastest Growing Private Companies in America


