


How-To: The Signs.com Online Design Tool
How-To: The Signs.com Online Design Tool
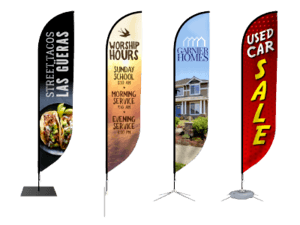
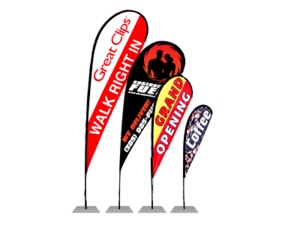
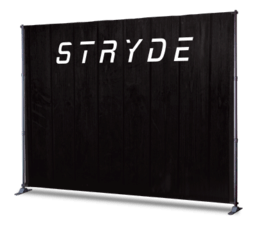
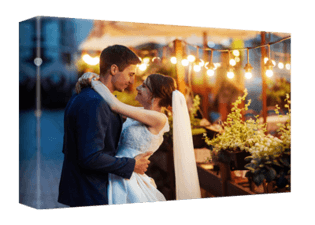
Designing your own custom banner has never been easier, thanks to the Signs.com Online Design Tool. Whether you’re creating signage for your business, event, or organization, our user-friendly tool puts full creative control in your hands — no design experience required. While this article focuses on banners, the same powerful features apply to all our custom sign types.
Below is a step-by-step walkthrough of how to use the design tool, plus an overview of key features like text editing, shapes, image uploads, and our built-in QR code generator.
Using the Signs.com Online Design Tool Step-by-Step
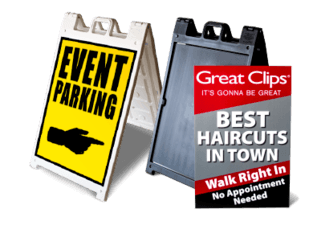
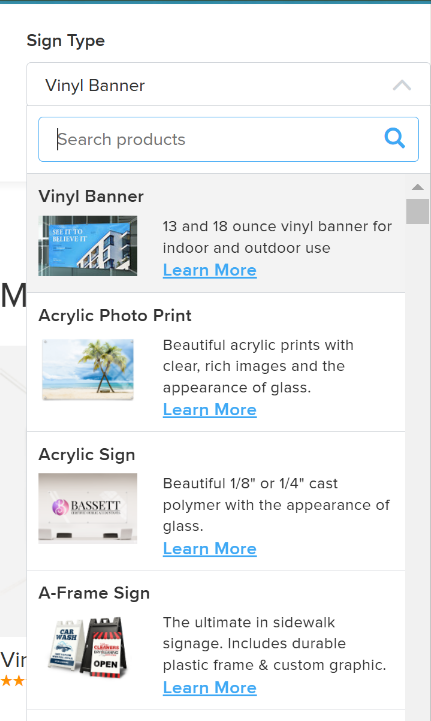
Step 1: Choose Your Sign
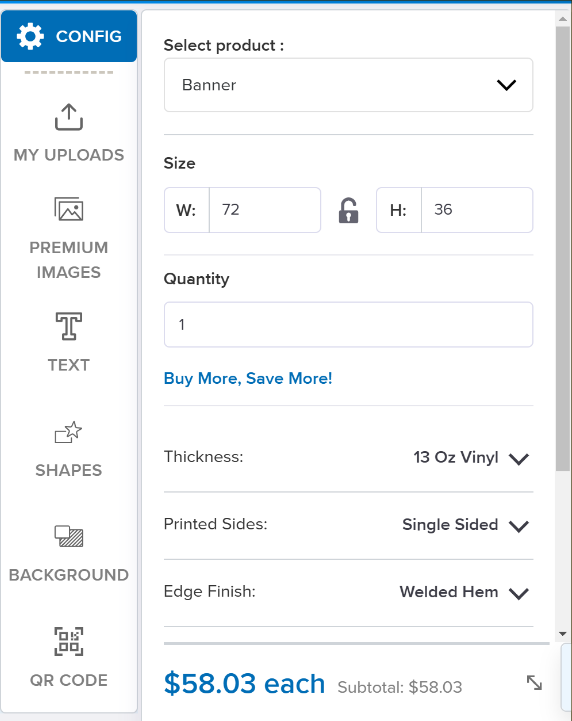
To get started, select the type of sign you want to design. After selecting the sign type, you’ll see a few customization options you can immediately do. Banners, for example, give you the option to choose the exact size, printed sides, hems, grommets, and so on.
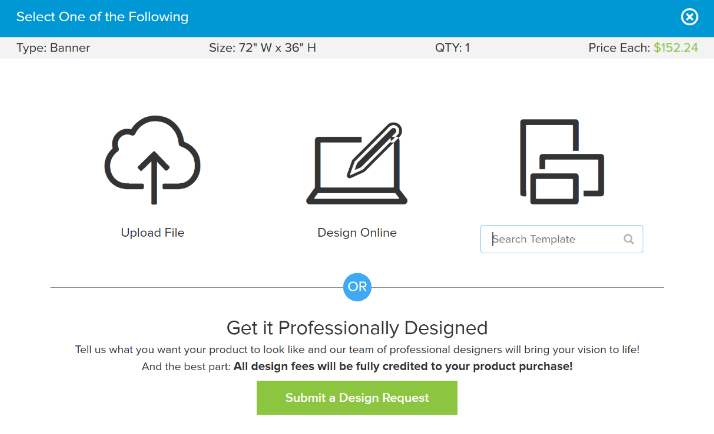
Step 2: Choose How You Want to Design
After making basic customization changes, click on ‘Get Started’. You’ll get a prompt to pick between Upload File, Design Online, or Search Template.
You can also get the assistance of a professional designer if you don’t want to do the design yourself.
Step 3: Launch the Design Tool
Once you’ve selected your template or blank canvas, the design tool will open. You’ll see your banner design centered on the artboard, with the customization options on the left side of the screen.
Step 4: Config Module
This tool lets you:
- Adjust width and height
- Switch banner types
- Zoom in/out
- Toggle full screen
- Save your design progress
- Add to cart when ready to order
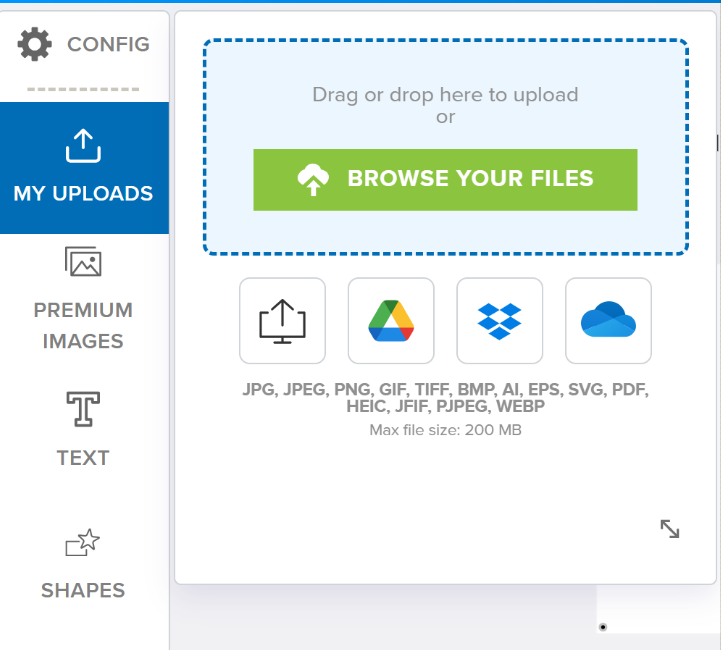
Step 5: Upload Images or Use Stock Graphics
Want to include your logo or a photo? Upload your own images directly into the tool. You can also browse our stock photo library and get licensed images.
Once added, images can be:
- Resized and rotated
- Aligned to other elements
- Brought forward or sent back in layers
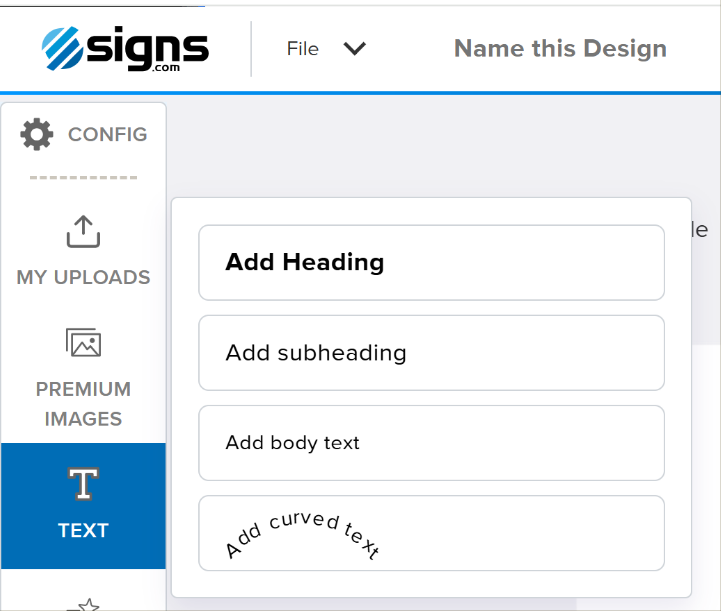
Step 6: Add and Customize Text
Click “Text” on the left panel to start adding your own content. You can:
- Choose from a wide range of fonts
- Adjust font size, color, bold, and italic
- Move and rotate text boxes anywhere on the banner
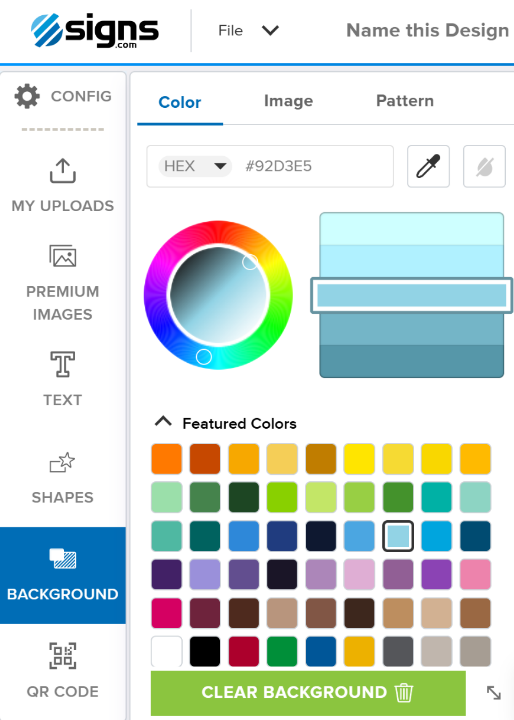
Step 7: Add Shapes, Colors, and Design Elements
Need arrows, boxes, or other accents? The Shapes tab allows you to add geometric elements to guide attention or enhance your layout. All shapes can be resized, recolored, and rotated.
The Background module lets you play around with a myriad of background colors as well as add images and patterns.
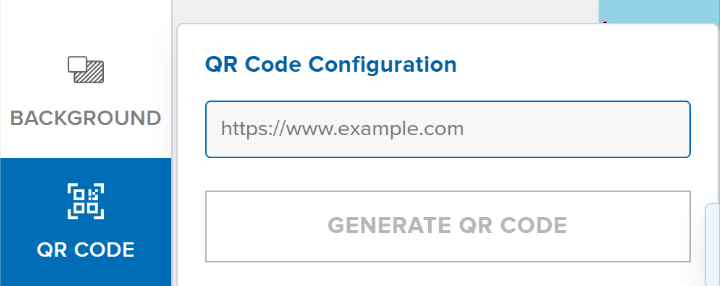
Step 8: Generate and Add a QR Code
Want to send viewers directly to your website, event registration, or menu? Use the built-in QR code generator to create a scannable code right in your design.
You can customize its size and placement just like any other design element.
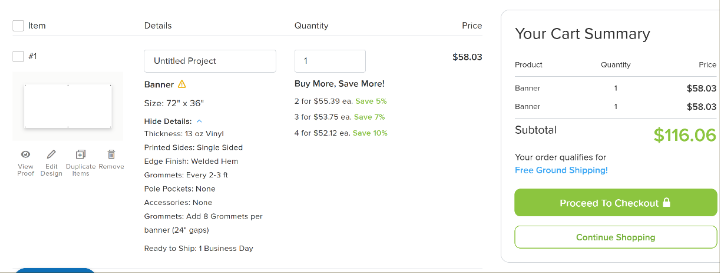
Step 9: Save or Checkout
Once you’re happy with your banner design:
- Click “Save & Continue” to save your design and add it to your cart.
- At this point, you can review the details of your project before completing the checkout process.
- If you aren’t ready to complete the purchase, the design will be automatically saved for later use.
Our design tool makes creating personalized banners fast, fun, and completely DIY. Whether you’re promoting a sale, welcoming guests, or supporting your favorite team, your custom design is just a few clicks away.
Don’t forget: these same design features work with all our custom signs, from yard signs to window decals.