Car and Truck Lettering
 160K
160K
Store Ratings
Custom Vehicle Lettering Just How You Need It
Choose from over 35 different colors of self-adhesive vinyl and have your lettering, numbering, or business logo cut to the exact shape you need.
OR

- Vector Artwork Required (ai, eps, svg, pdf)
- Most fonts and designs acceptable
- Need help with files, uploading or design? Check out our Free Design Services!
(Text effects such as gradients, shadows, borders, slants, etc. are not possible with vinyl lettering. For these effects please use our custom vehicle decals.)
Why Signs.com?

What is Vehicle Lettering?
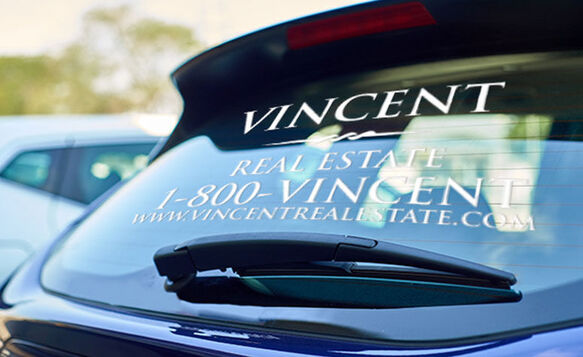
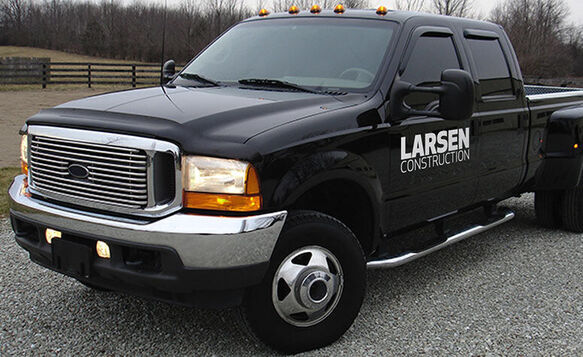
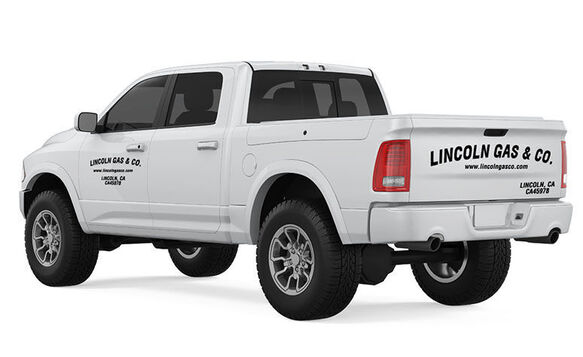
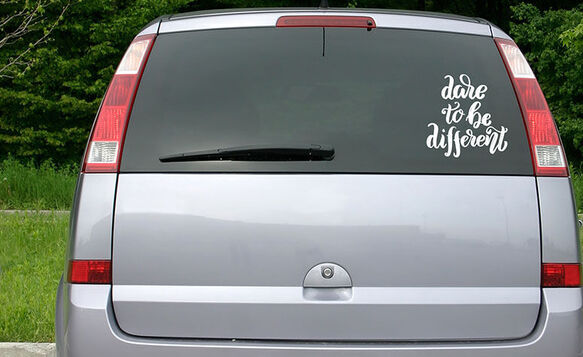
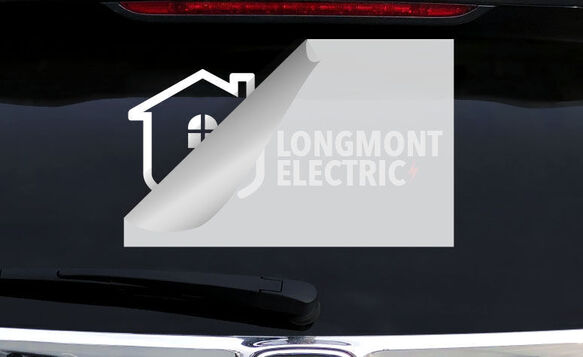
Vehicle lettering or car/truck lettering includes the lettering, numbering, or graphics individually cut out from a sheet of solid colored, 2-mil vinyl. Each shape is pre-spaced and placed onto masking transfer tape that allows for easy installation on your car, truck, or van in one piece, creating a clean and professional look.
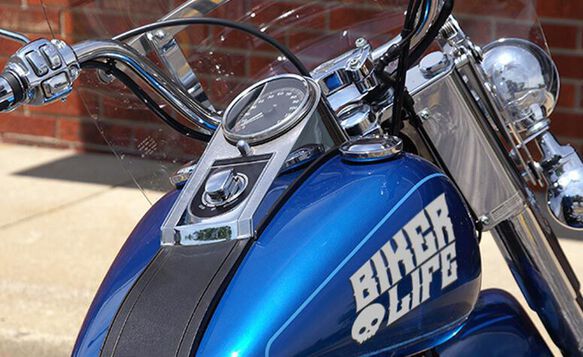
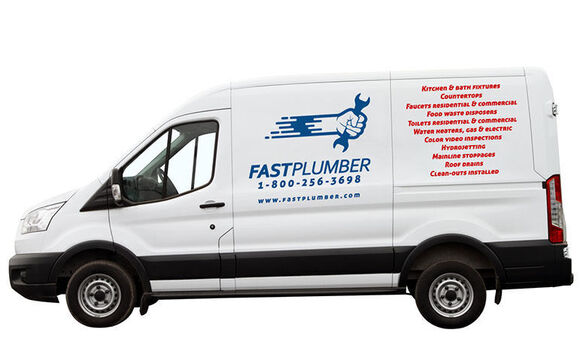
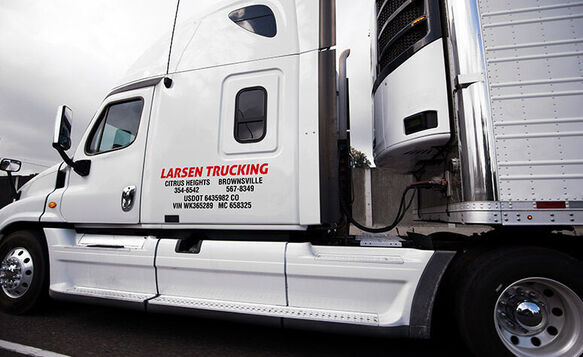
Vehicle lettering works great on cars, trucks, vans, jeeps, buses, commercial vehicles, motorcycles, dirt bikes, ATVs, UTVs, race cars, off-road vehicles, RVs, tractors, and even lawn mowers. It also works on windows and painted surfaces.
Vehicle Lettering Features

-
Easy to Install:
All vinyl car lettering is pre-spaced and pre-masked, allowing you to apply it to your vehicle in a matter of minutes.
See Installation Instructions
-
No Damage to Paint or Window:
This lettering uses an adhesive that is safe for use on the windows and paint of your car or truck and will not cause damage when properly removed.

-
Made to Last:
Cut from a sheet of durable 2-mil vinyl, your vehicle lettering will last 8+ years of outdoor use with no fading or cracking.

-
UV Resistant and Waterproof:
Come rain or shine, your vinyl car and truck lettering has been designed to withstand the elements while maintaining its vibrant color and quality.

Additional Specs
-
Thickness:
.002" (2-mil or 50 microns; about the thickness of half of a sheet of copy paper)
-
UV Resistance:
UV protectants in the material for 8+ years of outdoor vibrancy with proper car and maintenance
-
Estimated Lifespan:
8 years depending on climate and use
-
Temperature Range:
-40F to 225F
-
Installation Method:
Transfer tape; all-at-once installation
-
Print Method:
Cut, not printed, from vinyl sheet
-
Uses:
Outdoor. Used on windows and painted surfaces on cars, trucks, vans, buses, commercial vehicles, motorcycles, dirt bikes, ATVs, UTVs race cars, off-road vehicles, RVs, tractors, and lawn mowers.
Popular Templates
How to Use Vinyl Car and Truck Lettering Templates
Pressed for time to create your own car and truck lettering design? Don’t worry, we have ready-made templates you can easily customize for free!
To personalize these templates, follow these steps:
- Select your preferred design template.
- You will be redirected to our Online Design Tool, where you can explore a wide range of customization features: adjust the specs, add some text, upload your own images, and insert shapes, among others!
- Click “View Proof” to see a preview of your draft.
- Once you are satisfied with your design, click “Save & Continue” to proceed with checkout.
- Alternatively, you can click “Save” and finish your draft at a later time.
How to Install Vinyl Car and Truck Lettering
All our vehicle lettering comes pre-spaced and pre-masked with transfer tape that makes installation a simple, all-at-once process. Follow the step-by-step instructions below for a fast application:

Thoroughly clean and dry the surface of your car or truck where the decal will be installed.

Apply a horizontal strip of masking tape to the top of the graphic with the top half of the tape on the intended surface, creating a hinge.
Note: Designs with three or more colors will require you to place individually colored layers on your vehicle. Two vinyl dots (one in the upper left corner and one in the bottom right corner of each layer) will be used to help align individual layers.

Hold the bottom edge of the hinged graphic away from the intended surface and remove the back liner, revealing the sticky backing of your lettering. Be careful not to allow the exposed adhesive to touch the surface.

Using a squeegee*, press down on the premask, placing the lettering or graphic onto the intended surface. If creases develop, carefully lift the graphic and place it again. Work from top to bottom and left to right.
*Available for purchase with vehicle lettering.

Remove any air by dragging the squeegee from the center of your graphic outward.

Gently remove the premask, starting at a top corner. If any vinyl begins to come off the surface, use your squeegee to firmly adhere it back to the surface and continue peeling away the premask. This should remove the masking tape hinge as well.

Laying the liner over the graphic with the shiny side facing you, apply hard pressure with the squeegee, removing any remaining air bubbles.
As noted above, for vinyl lettering with three or more colors your order will have one layer per color. Repeat steps 2-7 and use the registration marks in the in the upper left and bottom right corners to ensure proper alignment and installation. The video below shows the installation process for 1 and 2 color vinyl lettering.
Download or Print Vehicle Lettering Installation Instructions

Easy to Use
Design Tool
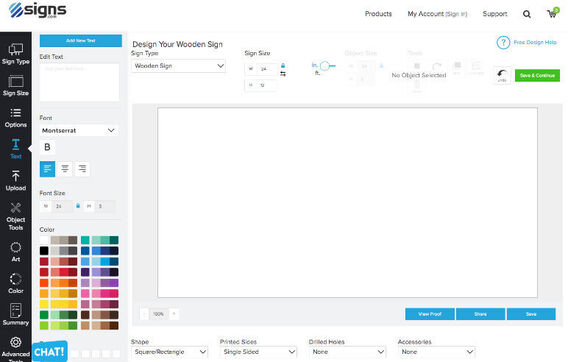
Create your custom wooden sign with our simple and easy design tool. Upload images, create objects, add text, adjust sizing, change color, and so much more!
Check It OutFree Professional
Design Services

Whether you need help uploading your design or are interested in creating something entirely new, our team of professional graphic designers is here to help. Nothing beats free!
Learn MoreAdditional Car and Vehicle Decals
Questions and Answers
Weeding (picking) is the process in which the internal spaces of a letter, shape, or object are cut out. For example, whenever a "D" or a "B" is a part of an order for vinyl lettering, the external shape of the letter is first cut from a sheet of vinyl with the internal spaces still intact. Weeding cuts out the inside part of the "D" or "B” to give the letter’s actual shape.
Because of the intricate detail required with weeding, it is all done by hand and can be a very detail-oriented process for complicated designs. Hence the reason why pricing is based on the complexity of your requested design.
The main difference between our vinyl car and truck lettering and our opaque, clear, and perforated vehicle decals is that the vinyl lettering requires no printing and uses different colors of vinyl material. Our vehicle decals all have the design printed directly onto a standard vinyl material.
Another major difference is in the cutting options. Vinyl lettering is cut to exact shape (including internal spaces), whereas vehicle decals can only be cut to the general outline of the shape, maintaining a solid background.
In the general sense, car decals refer to any type of material with adhesive properties that has the intended purpose of being applied to the exterior of a car. So, in that sense, car lettering is a type of car decal. However, in order to eliminate confusion, we refer to vinyl that is cut from solid colored vinyl as car lettering and vinyl that is printed on as a car decal.
There is no default color for car and truck lettering. Since the lettering is cut directly from a sheet of solid-colored vinyl, the color selected when creating your design is the same color as the vinyl material that is used.
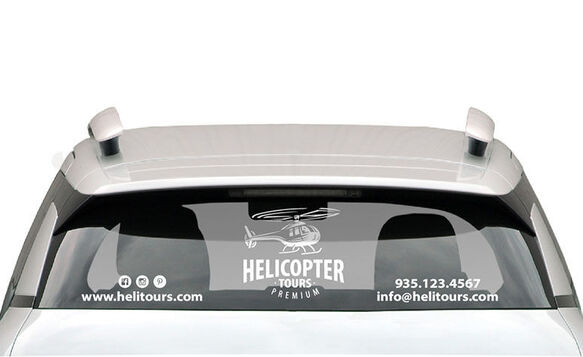
That said, most people choose white for the color of their vehicle lettering. In most cases, a white color provides the most contrast and visibility when placed on the window of a car or truck, especially if the window is tinted.
Our vehicle lettering is made from durable 2 mil (50 micron) vinyl that is designed to last up to 8–10 years (depending on use and climate conditions). The vinyl is self-adhesive and comes in over 35 different colors.
The thickness of the vinyl material used is .002" (2-mil or 50 microns; about the thickness of half of a sheet of copy paper). This allows the lettering to not protrude from the surface of the vehicle yet still maintain its quality and durability.
Our vehicle lettering is not visible in the dark. As for premium vinyl, our standard vinyl has exceptional quality and has a durability and lifespan similar to what other providers offer with their "premium" vinyl material. Currently, we do not offer reflective or marine vinyl types. If you are interested in creating lettering out of one of these vinyl types, please contact us to see what options you may have.
Our car and truck lettering are available in a wide range of sizes to fit your needs. To determine what size your lettering should be, start measuring the size of the surface where you would like to apply the lettering. Most users apply lettering to the rear window, back, or sides of their vehicle. Our standard size of 36" x 18" fits most rear windows, but because rear windows are unique in size and shape, we highly recommend measuring for the exact size you need.
The height is measured from the highest point of the tallest letter to the lowest point of the lowest-hanging letter. For example, if you were ordering vinyl lettering that said "Signs" the height of your lettering would be measured from the top of the capital letter "S" to the bottom of the "g". Likewise, the width of your lettering is measured from the beginning of the left-most letter to the end of the right-most letter. To determine the lettering’s total size, multiply the height by the width of the full design.


 Fastest Growing Private Companies in America

