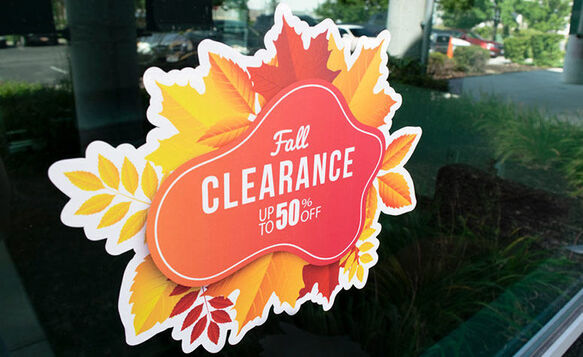
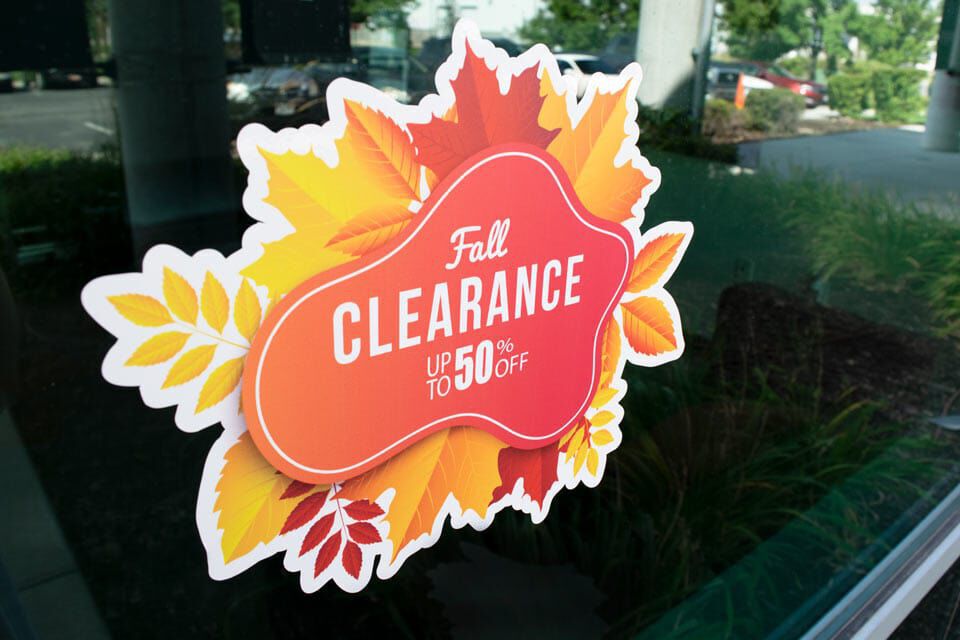
Opaque Window Clings
Select One of the Following
No results found for "{{previous_search_keyword}}"
Get it Professionally Designed
Tell us what you want your product to look like and our team of professional designers will bring your vision to life!
And the best part: All design fees will be fully credited to your product purchase!
 162K
162K
Store Ratings
What Are Opaque Window Clings?
Window clings (sometimes known as static clings or static window clings) are similar to decals as they are printed onto a thin white vinyl material that can be easily applied to a smooth surface. Unlike decals, however, window clings stick to glass and other smooth surfaces without any adhesive. No sticky adhesive means no mess plus the benefit of being able to reuse and reposition your cling as you please. Opaque window clings are the perfect choice for temporary signage.
Opaque window clings are printed in full color with high resolution digital UV Ink. Having a brilliant print means you can proudly display a fantastic design in minutes with an opaque window cling. Although these window clings are not intended for vehicle use or other exterior applications, they provide excellent window signage for any occasion.
.png)

Create your opaque cling in whatever shape you want. Plus with advanced digital printing, your design will be full color at no additional cost.

Your cling can be up in minutes. If you feel it needs to be moved or adjusted, no problem—simply peel it off and move it wherever you like.

Need a temporary signage solution that can be used over and over again? Opaque window clings are the perfect seasonal option.

Unlike window decals, you don’t have to worry about any messy or tedious clean up after removing your custom window clings.

Removable and Repositionable
With clings, you’re in full control whenever you want to move or take down your design. Window clings can be placed on a window, removed when needed, then reused again. In comparison to decals, window clings have the added benefit of not leaving any adhesive residue when taken down.
Repositioning your cling is simple. Just peel it away from the surface and put it back wherever you want. A little water with a couple drops of dish soap works wonders to get your cling adjusted on the window just right. Use a squeegee to remove air pockets and excess water then let it dry. See the installation instructions for more details.
When you are done displaying your cling, you can store it for later use by putting it back on the white backing that came with your cling. You can also use wax paper if you no longer have the backing. Store your cling flat, in a cool, dry place.
Advanced Printing
Opaque window clings are printed in full color with UV ink using a digital printing process. This means that no matter how simple or detailed your design, you can expect a clear image and text on your cling.
Whether your design is one color or multicolor, your cost is the same. If you don’t have a design ready but have an idea of what you’d like we can help. Take advantage of our free design service with purchase and we’ll help you get the perfect window cling display.
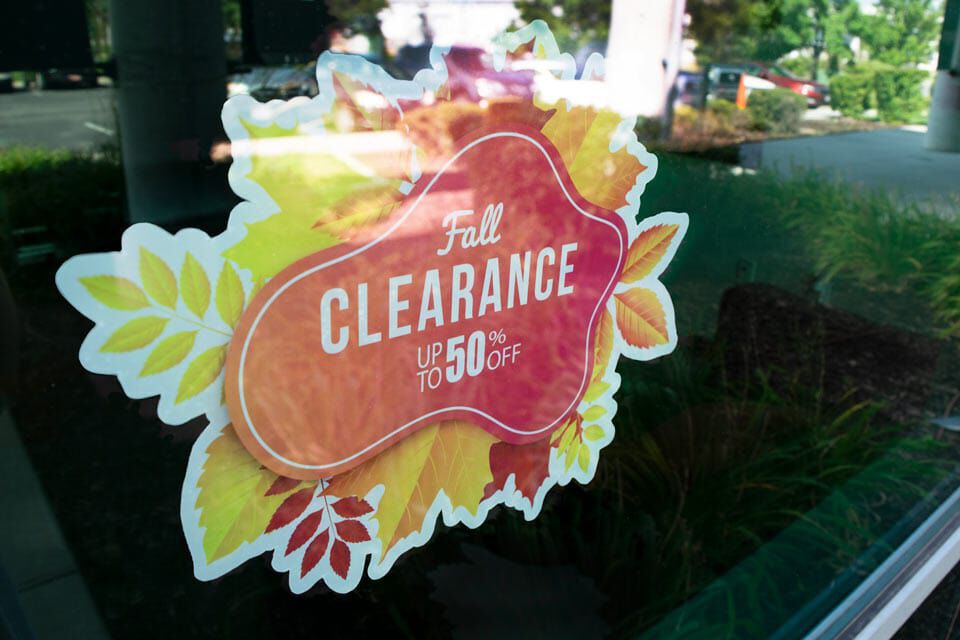
When your design uses a color or image background, opaque window clings are perfect. Keep in mind that you can also get a clear window cling if you are looking for something more transparent.

Save Time With Design Templates
Don’t have a lot of experience with design? Templates let you start off on the right track. We have premade designs you can use for your window cling artwork
Popular Design Templates
Signs.com offers a wide selection of templates you can use for your print projects. Having a hard time picking one? Here are some of our most popular designs for window clings:
How to Use Window Cling Templates
- Choose a window cling template from our design selection.
- Customize the template to your requirements. You can change the dimensions, print surface, copy, and colors using the design tool.
- Once you’re done with your design, press ‘Save & Continue’ and proceed to checkout.
Display
Shape
Easy to Use Design Tool
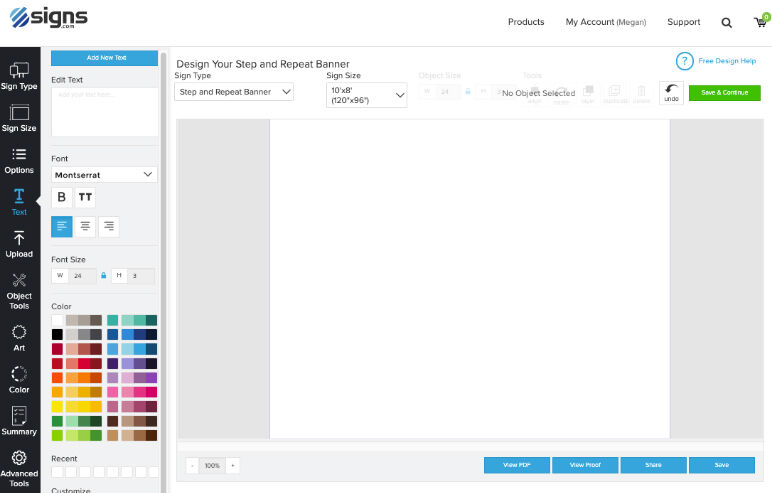
We have put in a lot of work to make our design tool the easiest and most simple to use in the signage industry. Upload images, create objects, add text, adjust sizing, change color, and so much more!
Free Design Service with Purchase

Whether you need help uploading your design or are interested in creating something entirely new, our team of professional graphic designers is here to help. Nothing beats free!
Additional Specs
-
Weight:
.09 lbs per square foot (about the weight of 9 quarters)
-
Thickness:
.017” (about the thickness of 2 sheets of copy paper)
-
Details:
.017” (about the thickness of 2 sheets of copy paper)
-
Uses:
Indoor, retail, home or auto windows
-
Print Method:
Four color process, eco-friendly, weather, fade and abrasion resistant UV ink. Digitally printed, full color
-
Estimated Lifespan:
1+ years with proper placement and care
-
Common Sizes (WxH):
6”x6”, 12”x12”, 24”x12”, 24”x24”, 48”x48”, 36”x60”
How to Install Opaque Window Clings
Applying your window cling can be done in a few simple steps. All you need is the window cling, a clean surface, a soap and water mixture in a spray bottle, and a squeegee (available for purchase with a window cling).
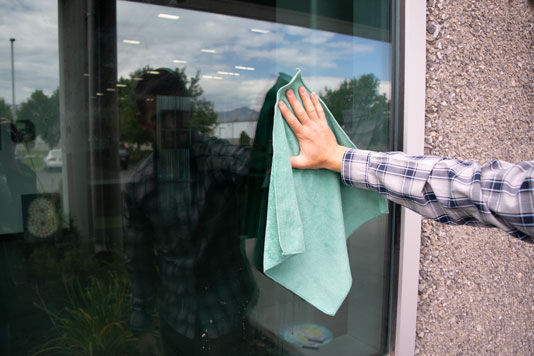
Thoroughly clean the surface of the glass or non-porous surface you’re applying the window cling to. Use water or any other household window cleaner.

Once the surface is clean, gently peel the white backing away from the cling.

Use a light soap and water mixture to spray the window and the non-printed side of your cling (the front for inside glass window clings or the rear for outside glass, or standard surface, window clings). While a light wet application is recommended, your cling can be applied without using the soapy water solution.

Apply the cling to the surface by starting at the top, applying pressure as you work your way to the bottom.

Use a squeegee* to remove excess water and bubbles.
*Available for purchase with opaque window clings and other decal products.

Once dry, your window cling will adhere to the window while still being removable and repositionable!
Download or Print Window Cling Installation Instructions PDF
Care
Custom opaque window clings can be easily cleaned using a damp cloth or paper towel. Gently wipe dirt or residue from the surface of the cling and surrounding window. When needing to store the window cling, simply remove it from the window, wipe it down to remove any surface dirt, then re-apply the protective backing on the ‘adhesive’ side. If you don’t have the protective backing, wax paper can be used as a protective backing.

Why Signs.com?
Questions and Answers
You can clean your cling by using soapy water and a damp cloth or sponge. Gently wipe the back of your cling to remove any dirt or grime build up. Then use clean water and a damp cloth or sponge to wipe away any excess soap. Doing so regularly will help prolong the lifespan of your cling.
If you plan on storing your opaque cling for future use you need to keep the lining that it originally comes on. You can use this lining to carefully put the cling back on and store in a cool and dry room with a sheet of paper or wax paper on both sides.
If you don’t have the lining, simply store them flat between sheets of wax paper.
Do not roll or fold your clings. Removing creases and curls is difficult.
You can refresh your window cling by cleaning it with soapy water and then rinsing with clean water. Rub the window cling with a wool or fleece blanket to dry.
When reinstalling, make sure to spray the window and the cling with water. Then use a squeegee to apply the cling to the window.
The best way to remove window clings is with the use of a clean, sharp razor blade. Starting with one edge or corner, slip the blade underneath the film, and then carefully peel it off the window surface.


 Fastest Growing Private Companies in America

