Car Decals
Select One of the Following
No results found for "{{previous_search_keyword}}"
Get it Professionally Designed
Tell us what you want your product to look like and our team of professional designers will bring your vision to life!
And the best part: All design fees will be fully credited to your product purchase!
 164K
164K
Store Ratings
Car, Truck, and Vehicle Decals
Easy Installation - UV Resistant and Waterproof - 100% Customizable
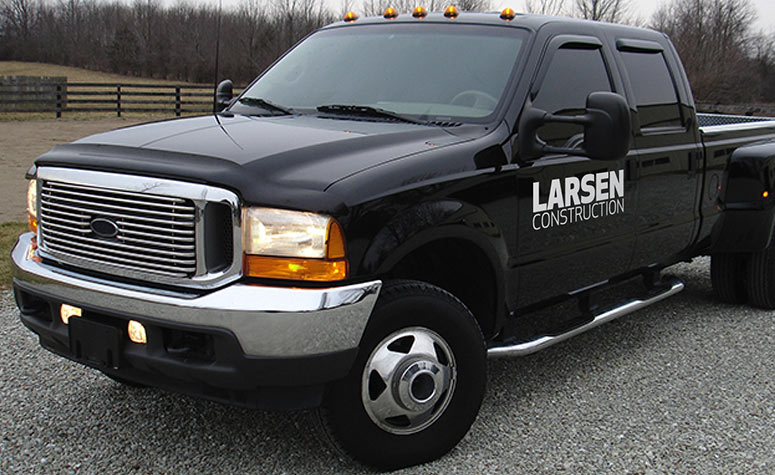
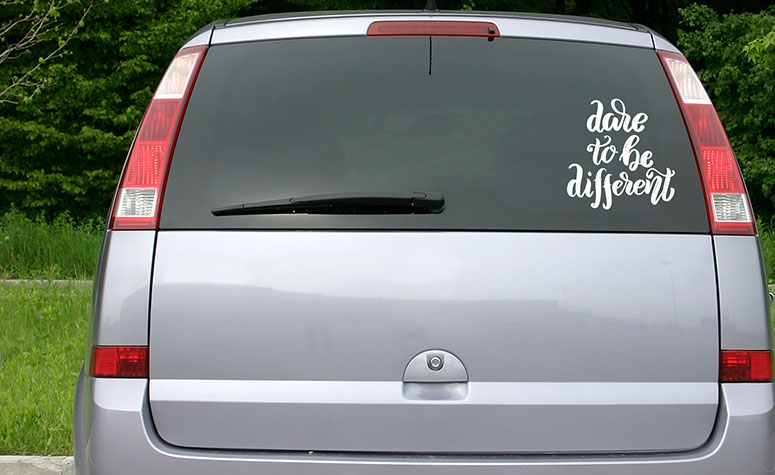
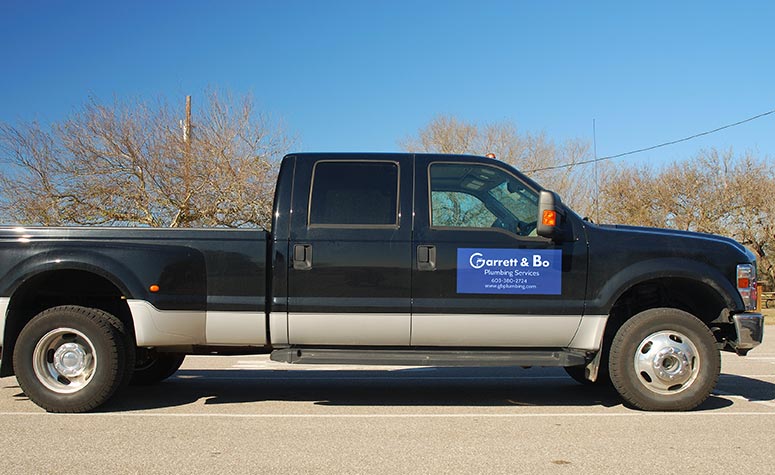
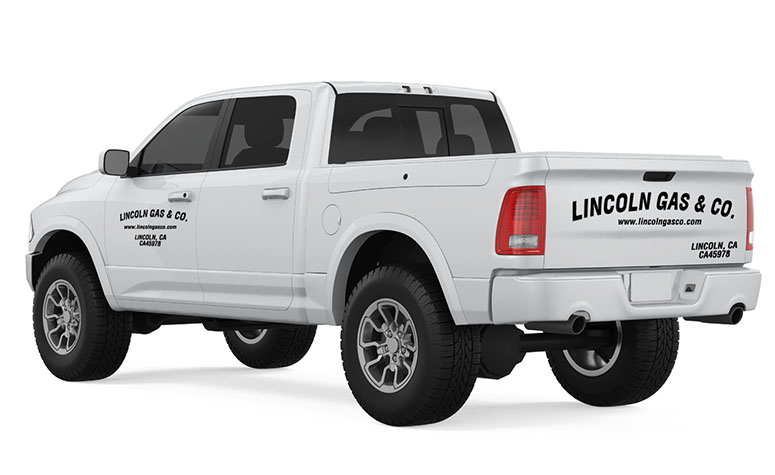
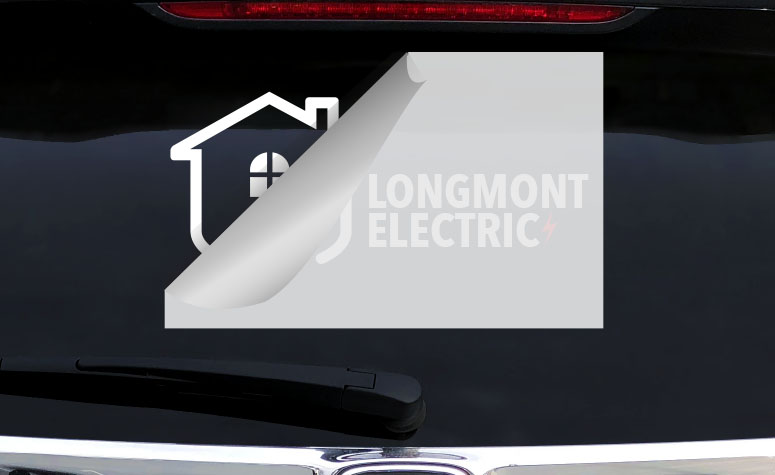
Car & Truck Lettering
- No background
- Lettering and objects cut to exact shape from sheet of solid-colored vinyl
- Available in over 35 colors
- For use on windows, doors, and other painted surfaces

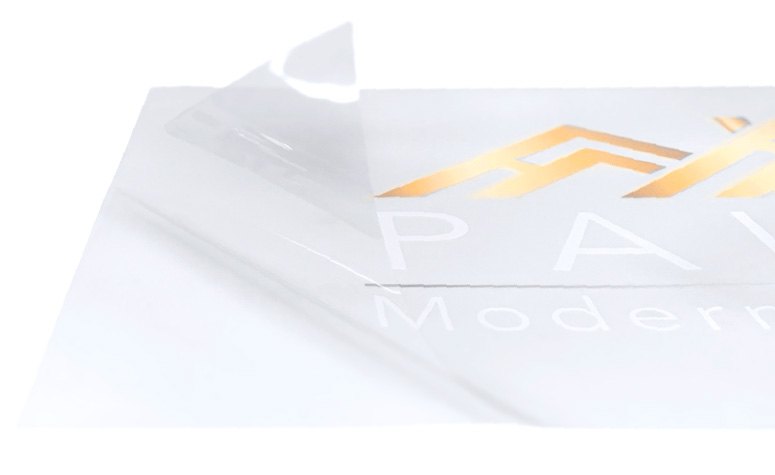
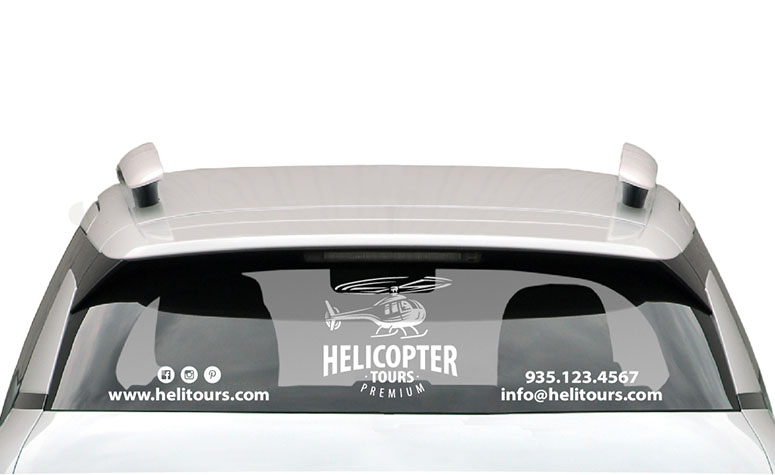
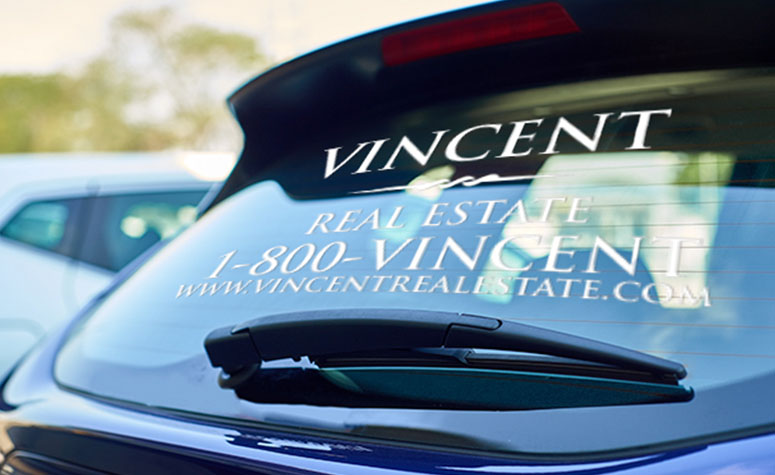
Clear Car Decals
- Clear background
- Cut-to-shape options available
- Image printed directly onto clear vinyl material with UV-resistant ink
- Unlimited color options and combinations
- Best for use on vehicle windows; can be used on doors and painted surfaces as well

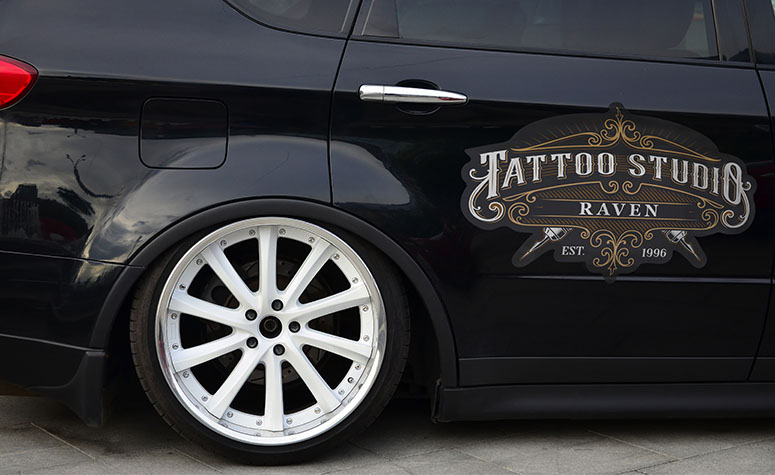
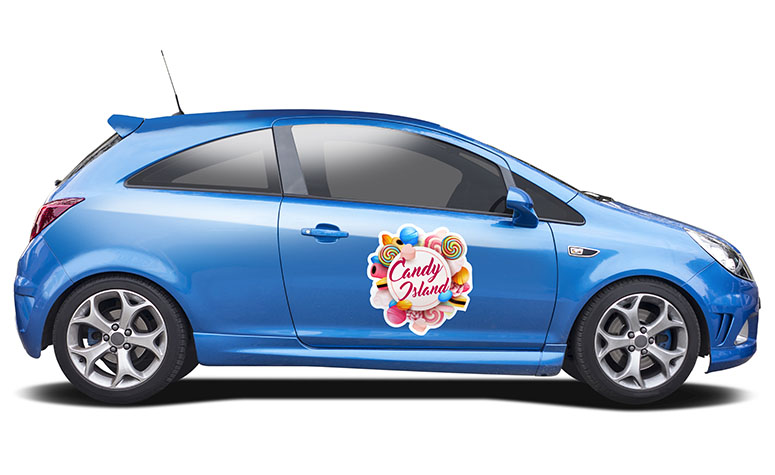
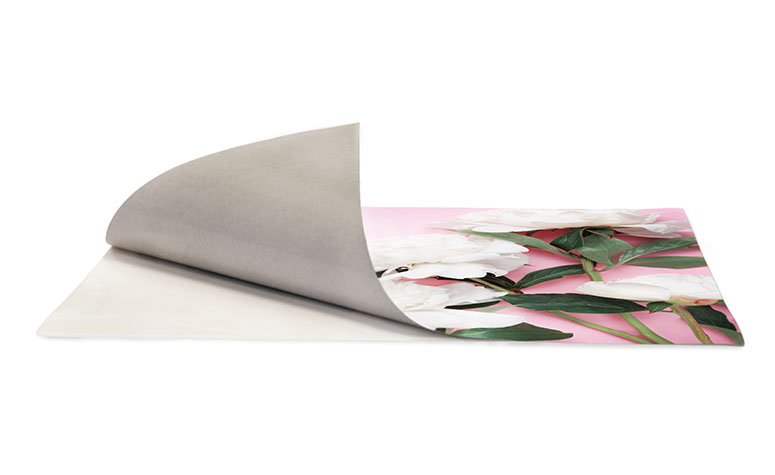
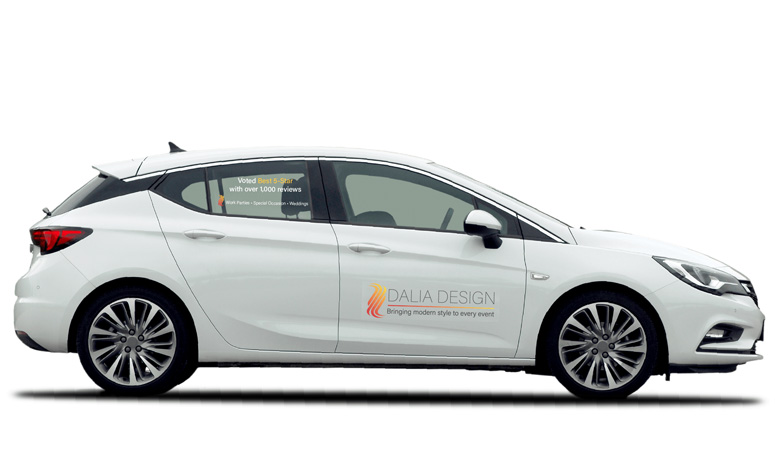
Opaque Vehicle Decals
- White background (non-see through)
- Cut-to-shape options available
- Image printed directly onto white vinyl material with UV-resistant ink
- Unlimited color options and combinations
- Best for use on doors and painted surfaces of vehicle; can be used on windows if size is small

Perforated Vehicle Decals
- Perforated background
- Small holes cut in decal, allowing you to see outside the vehicle with others unable to see inside
- Image printed directly onto perforated vinyl material with UV-resistant ink
- Unlimited color options and combinations
- For use on rear and side windows of vehicle

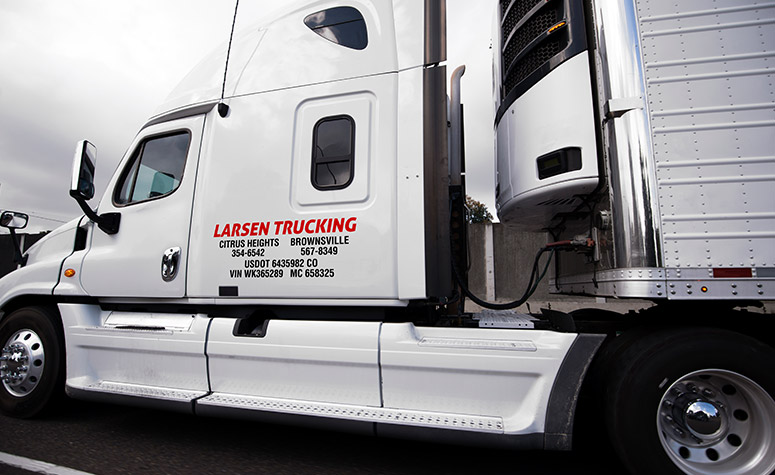
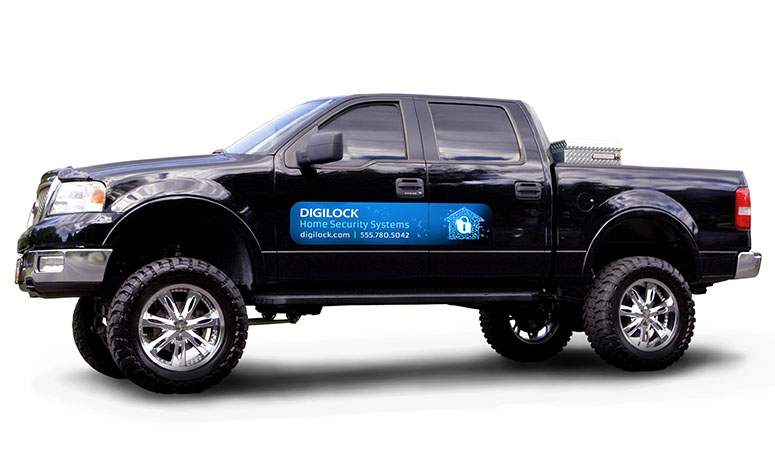
Permanent Decals
- White background
- Cut-to-shape options available
- Image printed directly onto white, high-adhesive vinyl material with UV-resistant ink
- Unlimited color options and combinations
- For permanent use on doors and painted surfaces of vehicle
Get Noticed on the Go With Custom Car and Vehicle Decals
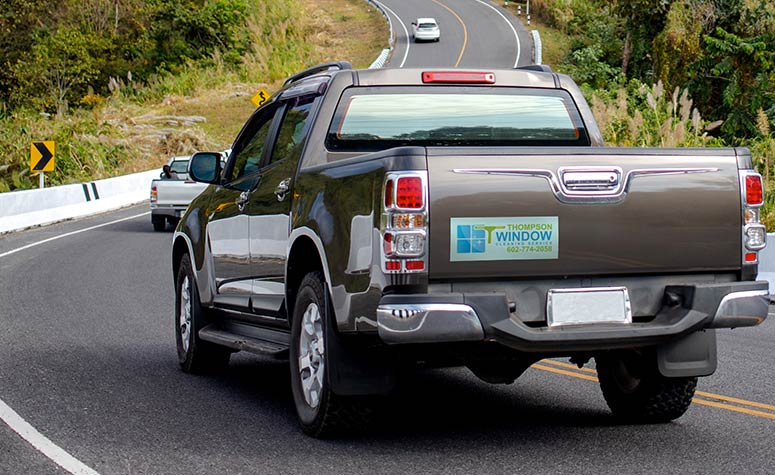
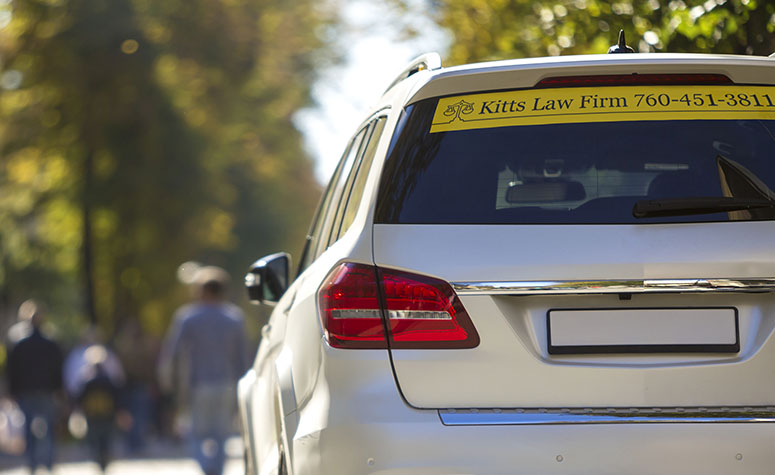
Custom car and vehicle decals are a great way to stand out and get noticed while working on the job or when you are on the go. Whether you want to draw attention to your vehicle as you drive by or make it easier for potential customers to spot you on the road, car decals are an easy solution.
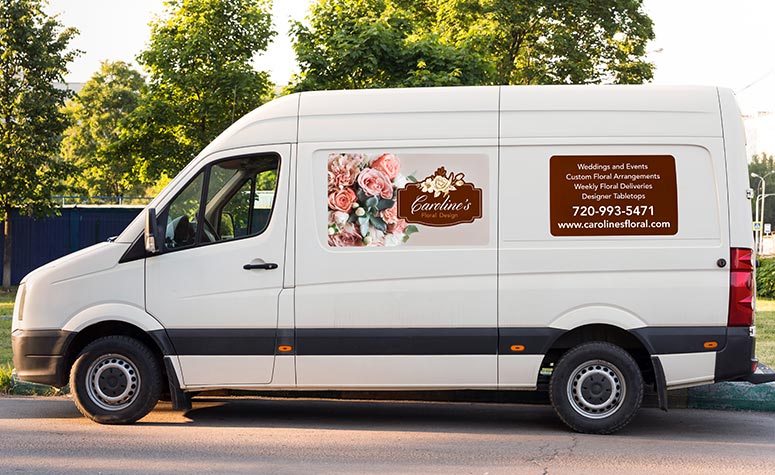
You can use our vehicle decals as a form of mobile advertising when you drive around town. Add your logo, contact information, QR code, or message to not only expand your customer reach, but also for your products and services to get more exposure to a new market. Here at Signs.com, we offer custom vehicle decals in various shapes, sizes, and colors. We offer five different types that you can stick on windows, doors, and even painted surfaces.
How to Use Car Decals Templates
Put your creativity in the driver’s seat and take advantage of our free car decals templates. Here’s a step-by-step guide on how to get started:
- Go to our Signs and Templates page and choose your preferred design. You can use the search bar or select from the available categories on the left side of the page.
- Once you click on a template, the online design tool will open up. From there you can choose from various customization options. Add text, upload your logo, change the colors, font size, or attach images to make a design that stands out.
- Once you’re done with your design, you can save, checkout, and finish the order. Alternatively, you can also save your design for future use.

What are Car Decals?
Car decals (also called car stickers or car graphics) are images, graphics, or lettering printed onto or cut out of self-adhesive vinyl and then placed on any vehicle. Car decals include car and truck lettering, clear vinyl decals, opaque vinyl decals, perforated decals, and high-adhesive decals. They are mainly used for advertising business names, logos, products, and contact information. They may also be used to show off your favorite logo, team, band, etc.
Decals vs. Stickers: We’re often asked about the difference between decals and stickers. They may sound and look similar, but they have very distinct materials and applications. Typically printed on vinyl, decals are meant to be displayed on the windows or body of a vehicle. On the other hand, stickers can be printed on paper or on outdoor film. Unlike decals, stickers can be placed on a broad range of items, such as notebooks, water bottles, and laptops, to name a few.
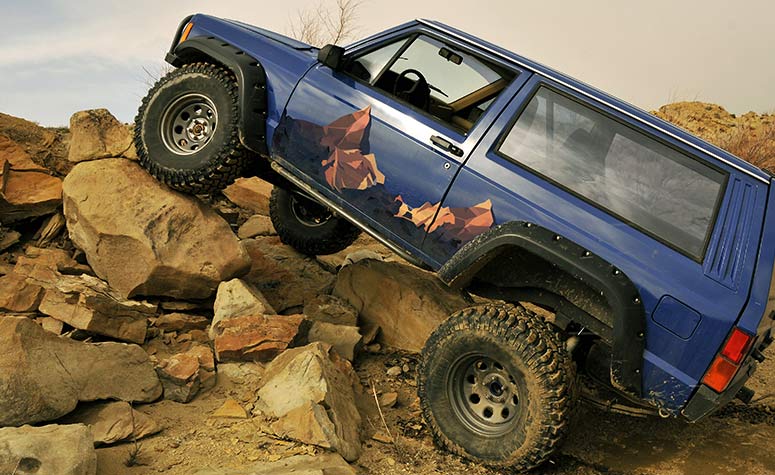
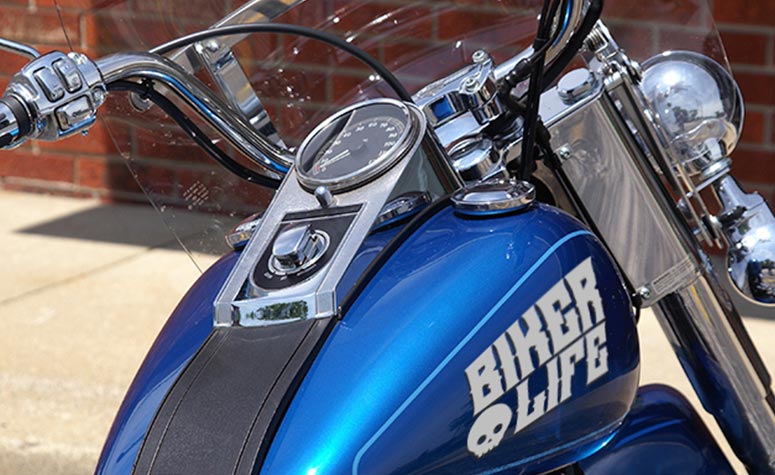
Common Uses: For outdoor use on windows, doors, fronts, or the back of any vehicle. This includes cars (automobiles), trucks, commercial vans, tractors, race cars, buses, motorcycles, dirt bikes, ATVs, UTVs, off-road vehicles, RVs, and others.
Installation: All our vehicle decals are easy to install. You can find step-by-step installation instructions for each product on its respective product page. Select “Learn More” on one of the products listed above to see the product-specific installation instructions.
Care: Regularly clean your vehicle decal with a damp, non-abrasive cloth. This will remove dirt and grime from the decal and help maintain its quality and life span. Avoid using power washers or high-power car washes. All decals are safe to use on areas of a window with windshield wipers.
Why Signs.com?
Easy to Use
Design Tool

Create your custom perforated window decal with the easiest and simplest design tool in the signage industry. Upload images, create objects, add text, adjust sizing, change color, and so much more!
Check It Out
Free Professional
Design Services

Whether you need help uploading your design or are interested in creating something entirely new, our team of professional graphic designers is here to help. Nothing beats free!
Get Design Help NowMake a Lasting Impression

Looking for Something Temporary?

Car Magnets
Our custom car magnets are removable and reusable, allowing you to transform your vehicle between personal and commercial in a matter of seconds.
Questions and Answers
You can definitely upload your PDF artwork and set it up using our online design tool. You can definitely upload your artwork in full bleed so we can make sure that no important elements will be compromised during the cutting process, and this would also eliminate the appearance of white hairline along the edges of the final product.
Should you need design assistance, we offer design service with a minimal cost! Once you approve the design, you will then be taken to the cart to purchase the product. The fee you paid for the design service will go toward the price of your product and will be deducted from the balance upon checkout. You have 30 days from design approval to purchase the product and receive the credit.
You may check our online design tool request form here: https://www.signs.com/design-services/
To determine if a vehicle is magnetic:
-
Use a Magnet:
- Test: Apply a small, strong magnet to various areas. If it sticks, the vehicle is likely made from magnetic material, such as steel.
-
Check the Vehicle’s Material:
- Steel Body: Magnetic.
- Aluminum Body: Non-magnetic.
- Composite Materials: Non-magnetic.
-
Consult Specifications:
- Owner’s Manual: Check for material information.
- Manufacturer’s Website: Look up details for your vehicle model.
-
Visit a Professional:
- Auto Body Shop: For confirmation on materials used.
Car Magnets vs. Car Decals:
-
Car Magnets:
- Advantages:
- Removability: Easy to remove and reattach, with no adhesive residue.
- Versatility: Change designs or remove as needed.
- Ease of Installation: No professional help required.
- Disadvantages:
- Adhesion Issues: Can be affected by weather and require a smooth, metal surface.
- Security Concerns: Risk of theft.
- Wind Resistance: May flap or vibrate at high speeds.
- Advantages:
-
Car Decals:
- Advantages:
- Durability: Withstands weather, UV rays, and temperatures.
- Customization: Flexible in design and can cover larger or irregular areas.
- Professional Appearance: Provides a seamless look.
- Disadvantages:
- Permanency: Difficult to remove, may leave residue or damage paint.
- Application Complexity: May need professional installation.
- Cost: Generally higher upfront cost.
- Advantages:
Summary:
- Magnets: Best for temporary use, easy removal, but less suitable for extreme weather or non-metal surfaces.
- Decals: Durable and professional, ideal for long-term applications, but harder to remove and more costly.
Choose based on design duration, surface type, and budget.
When determining the measurements for a custom die-cut decal for cars, it’s important to ensure that the decal fits well and looks professional on the vehicle. Here’s a step-by-step procedure to determine the measurements:
1. Determine the Application Area:
-
Measure the Vehicle Surface:
- Identify the Placement: Decide where the decal will be applied (e.g., door, window, bumper, hood).
- Take Accurate Measurements: Use a tape measure to measure the width and height of the area where the decal will go. For curved surfaces, measure multiple points to ensure you get an accurate representation.
-
Consider Vehicle Features:
- Account for Curves and Edges: Take note of any curves, vents, or other features that might affect the decal’s placement and design. You might need to adjust the design to fit around these features.
2. Design Considerations:
-
Create the Design:
- Use Design Software: Design your decal using vector-based software like Adobe Illustrator or CorelDRAW. Vector files are scalable and ideal for die-cutting.
- Scale the Design: Ensure the design matches the dimensions you’ve measured. Maintain the aspect ratio to avoid distortion.
-
Add Bleed and Margins:
- Bleed Area: Add a bleed area around the design (usually 0.125 to 0.25 inches) to ensure there are no white edges after cutting. This is especially important if the decal has a background color or pattern.
- Margins: Include a safe margin around the design elements to ensure important parts are not cut off.
3. Prepare the File for Printing:
-
Specify Exact Measurements:
- Final Dimensions: Provide the final width and height of the decal based on your measurements. Include any bleed and margin adjustments in these dimensions.
-
File Format:
- Save in Suitable Formats: Save your design in a high-resolution, vector-based format such as PDF, EPS, or AI. Ensure the cut path is clearly marked.
-
Cut Path:
- Define Cut Lines: Ensure the cut path is well-defined and on a separate layer if required. This path will guide the die-cutting process.
4. Review and Approve:
-
Proofing:
- Digital Proof: Review a digital proof from the printer to confirm the size and design.
- Physical Sample: If possible, request a physical sample or mock-up to see how the decal will look on the vehicle.
-
Adjust if Necessary:
- Revisions: Make any necessary adjustments to the size or design based on the proof or sample before proceeding with the final print.
5. Installation Considerations:
- Plan for Application:
- Surface Preparation: Ensure the vehicle surface is clean and dry before applying the decal.
- Application Tools: Use tools like a squeegee to apply the decal smoothly and avoid air bubbles.
By following these steps, you can ensure that your custom die-cut decal is properly measured and fits well on your vehicle, providing a professional and clean look.
To create a full decal to fit both sides of a 2000 Toyota Tundra Access Cab SR5, you'll need accurate measurements of the vehicle's side panels. Here are the steps to get those measurements and ensure a proper fit:
Materials Needed
- Measuring tape
- Notepad and pen
- Masking tape (optional)
- Assistant (optional, but helpful)
Steps to Measure
-
Prepare the Surface:
- Clean the sides of the truck thoroughly to ensure there are no obstructions or dirt that could affect the measurements.
-
Measure the Length:
- Measure the length from the front edge of the front fender to the rear edge of the rear fender. This will give you the total length of the decal needed for one side.
-
Measure the Height:
- Measure the height from the bottom edge of the truck (near the running boards) to the top edge of the side panel. Do this at several points along the length of the truck to account for any variations in height.
-
Consider Curves and Contours:
- Note any significant curves or contours on the side panels that might affect the decal application. Use masking tape to outline the area if it helps visualize the space better.
-
Window and Door Areas:
- If your decal design does not cover windows and doors, measure the dimensions of these areas and subtract from the total measurements to avoid covering them.
Of course! To get accurate pricing, kindly fill out the link below so that we may get started with a quote from our product consultants:
I'm afraid our sample packs are unavailable at the moment, but you may try to send your inquiry by filling out the form below:
https://www.signs.com/contact/
As for the installation, I'm afraid we are unable to install it for you. But not to worry! We do have easy instructions on how to install it on the website.
We certainly have a 4"x3" decal. To make the text in white, you may select "As seen on Screen" for the white ink. This will allow your file to print as it is viewed on the canvas. All white areas will print white. Printed colors will have a white ink layer underneath to make them vibrant and opaque.
Currently, the largest size we offer for the opaque or clear car decal is 52" x 600" or 600" x 52". We would be happy to check for alternative options available to meet your printing needs!
Please provide us the full specifications of your potential order so we can get you a quote. You can submit a custom quote request here:
Unfortunately, printing a sample photo won't be a good idea. We have file requirements that we need to meet to make sure we give you top prints. Resolution must be 300 dpi, The size needs to be the same as the order size which includes the bleed of .25 of an inch for each side. Colors should be on CMYK values.
Car decals and vehicle wraps are both used for vehicle advertising and customization, but they have some key differences. Car decals are smaller graphic elements that are typically applied to specific areas of the car like the windows, doors, or bumper. On the other hand, vehicle wraps cover a larger portion of the vehicle, often the entire surface.


 Fastest Growing Private Companies in America


-10710.jpg)
-10709.jpg)
