


Vinyl Lettering
About Vinyl Lettering
Learn more about our vinyl lettering. This video covers everything you need to know from material advantages, fabrication options, to proper installation and care.
Vinyl Lettering Just How You Need It
Choose from over 30 different colors of vinyl and have your lettering, numbering, or business logo cut to the exact shape you need for indoor or outdoor use.

- Easy-to-Use Online Design Tool
- Over 70 Fonts Available
- Wide Range of Custom Sizes
- Vector Artwork Required (ai, eps, svg, pdf)
- Most fonts and designs acceptable
- Need help with files, uploading or design? Check out our Free Design Services!
(Text effects such as gradients, shadows, borders, slants, etc. are not possible with vinyl lettering. For these effects please use our custom wall decals.)
Why Signs.com?


What is Vinyl Lettering?

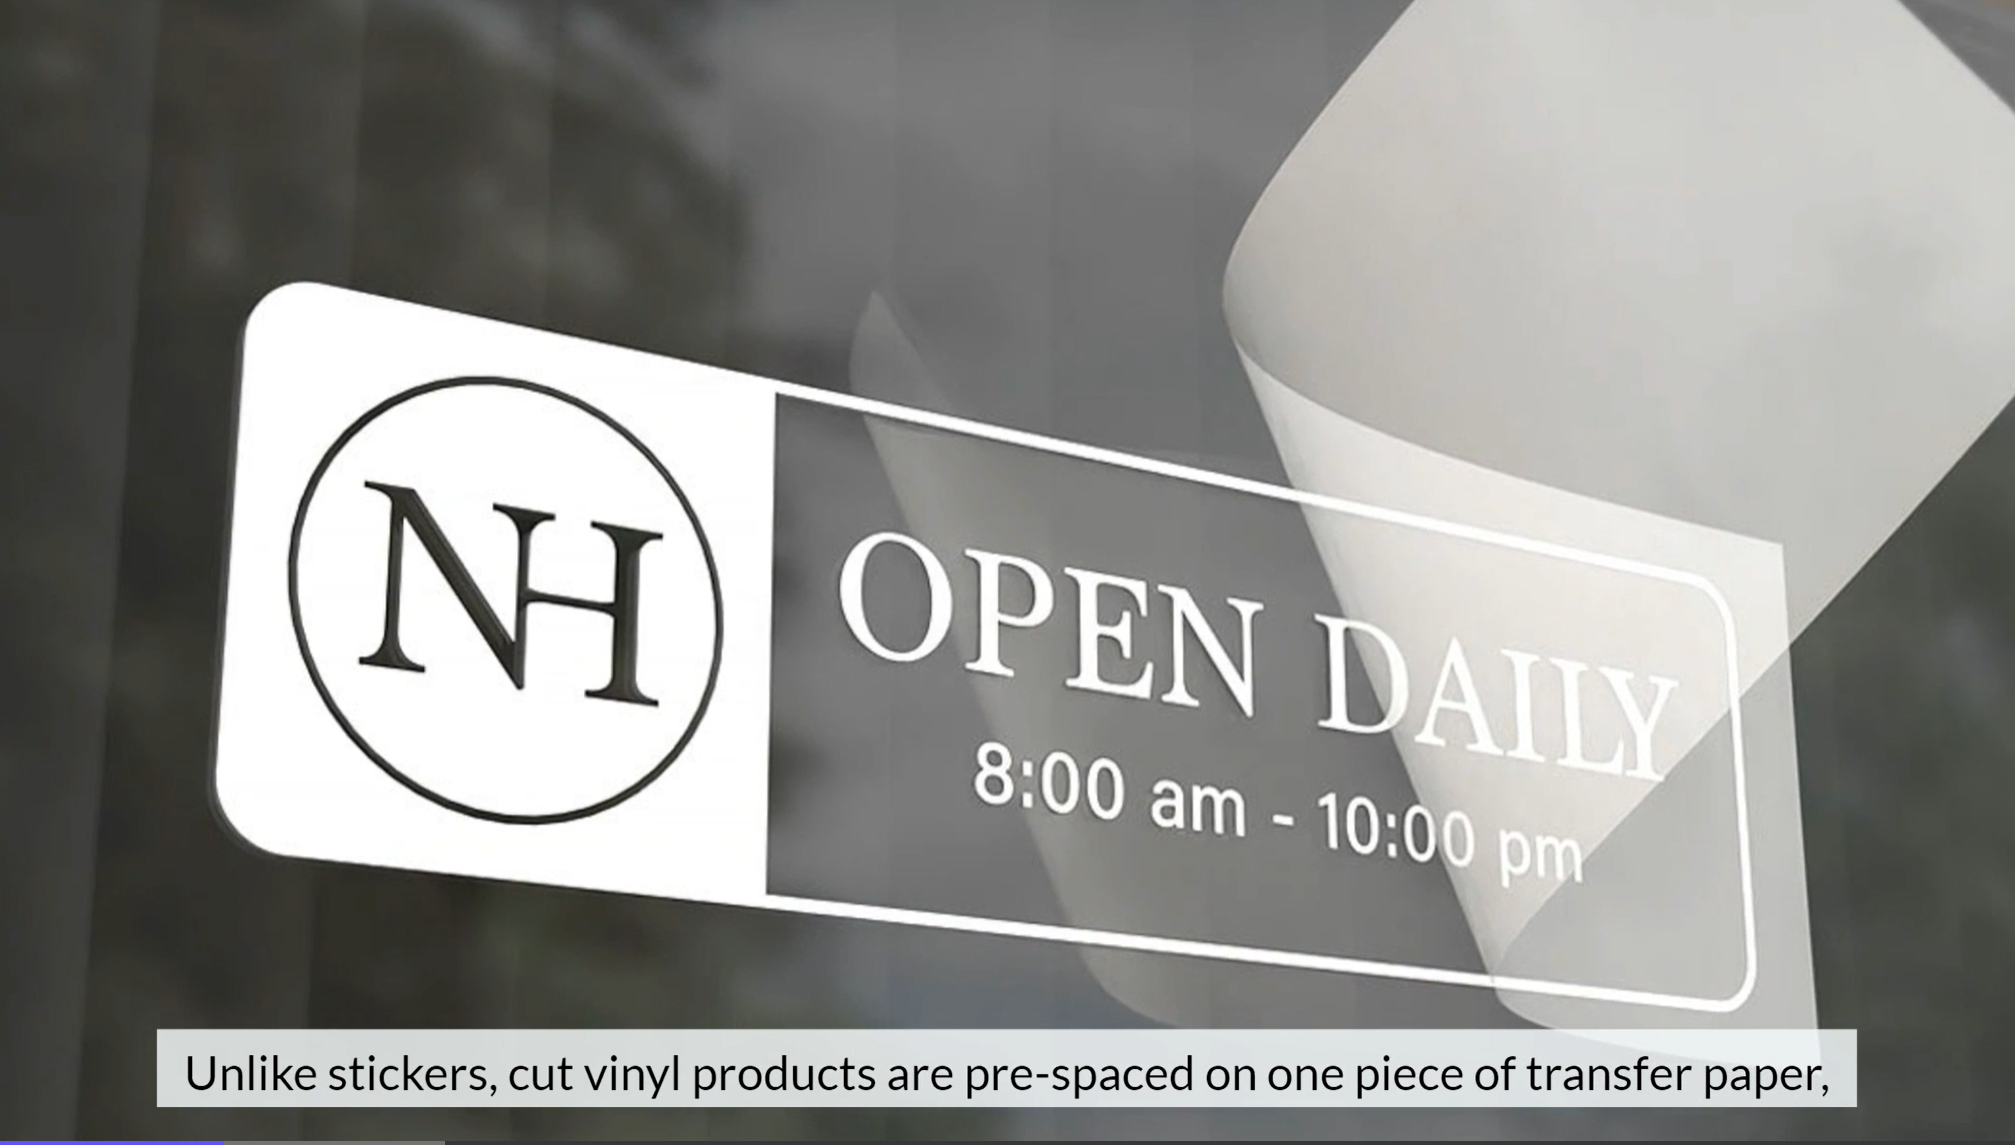
Vinyl lettering includes lettering, numbering, and shapes that are individually cut out from a sheet of solid colored, 2-mil vinyl and then pre-spaced and placed onto pre-masked transfer tape (the number of transfer tape sheets used will depend on the size of your vinyl lettering and amount of colors used). This allows the lettering to be easily installed as one piece, creating a clean and professional look. You have the option to choose the standard print surface or have it made to be displayed inside glass.
Our vinyl lettering will stick on almost any flat, nonporous surface. Some surfaces vinyl lettering will work on include glass, windows, walls, storefronts, cars/trucks, and boats. Scale is no problem! We can provide the perfect fit for every display surface, big or small. We can print vinyl lettering as large as 24” x 60” in size.

Our vinyl lettering has over 30 different colors to choose from, including specialty colors such as frosted, fluorescent, gold, and silver. You are also able to incorporate multiple colors into your lettering design.
 160K
160K
Store Ratings
 Verified Purchase
Verified Purchase
Verified Purchase
Verified Purchase
Verified Purchase
Verified Purchase
Verified Purchase
Verified Purchase
Verified Purchase
Verified Purchase
Verified Purchase
Verified Purchase
Verified Purchase
Verified Purchase
Verified Purchase
Verified Purchase
Verified Purchase
Verified Purchase
Verified Purchase
Verified Purchase
Verified Purchase
Verified Purchase
Verified Purchase
Verified Purchase
Verified Purchase
Verified Purchase
Verified Purchase
Verified Purchase
Verified Purchase
Verified Purchase
Verified Purchase
Verified Purchase
Verified Purchase
Verified Purchase
Verified Purchase
Verified Purchase
Verified Purchase
Verified Purchase
Verified Purchase
Verified Purchase
Verified Purchase
Verified Purchase
Verified Purchase
Verified Purchase
Verified Purchase
Verified Purchase
Verified Purchase
Verified Purchase
Verified Purchase
Verified Purchase
Verified Purchase
Verified Purchase
Verified Purchase
Verified Purchase
Verified Purchase
Verified Purchase
Verified Purchase
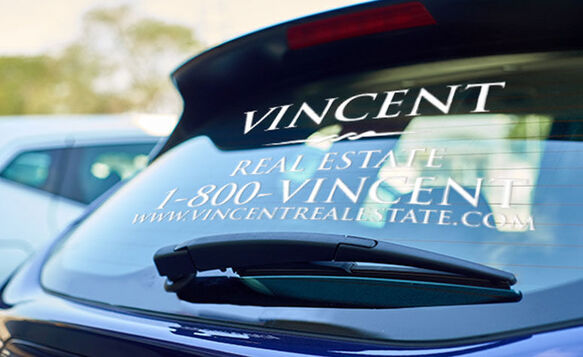
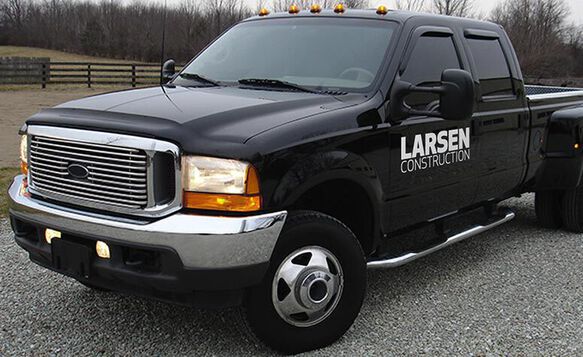
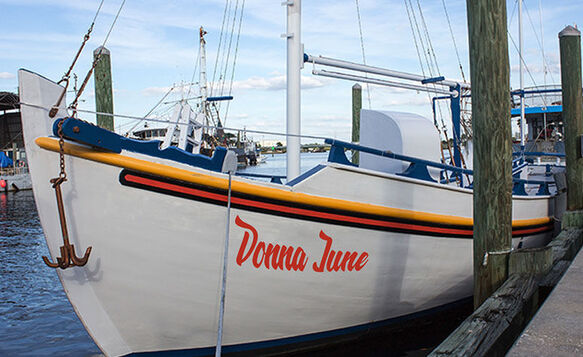
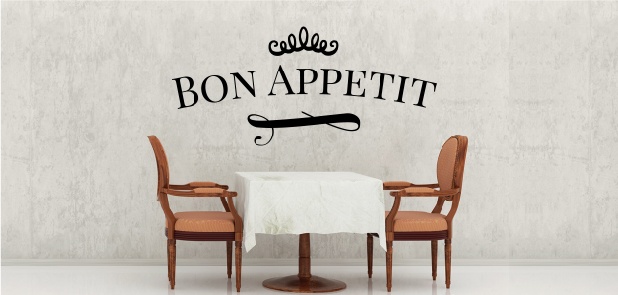
Common Uses For Vinyl Lettering
Vinyl lettering is one of the most versatile tools for marketing. Since it’s made of durable, high-quality vinyl, it can be used both indoors and outdoors. It sticks to most surfaces and is weather-resistant. Below are some of the most popular uses for vinyl lettering:
Popular Vinyl Lettering Templates


Start Your Vinyl Lettering Project With Free Templates
No need to be an artist to start designing your own vinyl lettering! We offer a large selection of free templates you can use and build upon. All you need to do is pick one you like and customize as you see fit. Seeking inspiration? Here are some of our most popular premade templates:
3-Step Guide on Customizing our Vinyl Lettering Templates
- Choose a template that you would like to use.
- Customize using our online design tool. You can change the text, colors, or shapes of the design.
- Once you’re happy with the artwork, complete the order process and checkout.

Easy to Apply and Made to Last
- Pre-spaced and pre-masked for easy all at once install
- Works on many different smooth, nonporous surfaces
- Made from durable vinyl designed to last over 8 years and avoid cracking and embrittlement
- UV-resistant
- Water-resistant
Have Your Design Standard or Reverse Cut
You can choose either Standard or Reverse Cut for your vinyl lettering. Standard Cut makes it so each letter and object in your design will be cut directly out of the vinyl material, leaving no background. With Reverse Cut, each element in your design will be cut away from the background of the vinyl material. With Standard Cut the price of your vinyl lettering is based off of the size of your actual design, whereas with Reverse Cut the price will be based off of the size of the square/rectangle you are having your design cut out of.

Standard Cut
(Design Cut From Material)
Reverse Cut
(Design Cut Out of Material)Additional Specs
-
Thickness
.002" (2-mil or 50 microns; about the thickness of half of a sheet of copy paper)
-
UV Resistance
UV protectants in the material for 5-10 years of outdoor vibrancy
-
Estimated Lifespan
Approximately 8 years depending on climate and use
-
Temperature Range
-40F to 225F
-
Installation Method
Pre-Masked Transfer Tape
-
Print Method
Cut, not printed, from vinyl sheet
-
Uses
Indoor and Outdoor. Business storefronts and windows, walls, home decor, cars, trucks, boats, etc
Vinyl Lettering Fonts and Strokes Guide


How to Install Vinyl Lettering
All of our vinyl lettering comes pre-spaced and pre-masked with transfer tape, making installation a simple, all-at-once process. Follow the step by step instructions below to help you get it installed exactly as you want it. The instructions below are for one-color and simple two-color letters and graphics. For orders with complex two-color designs or three or more colors, due to both production and installation quality purposes, you will install your vinyl lettering layer by layer for the same seamless and professional look.

Thoroughly clean and dry the surface where the lettering will be installed.

After measuring and marking your intended installation location if necessary, apply a horizontal strip of masking or painters tape to the top of the graphic with the top half of the tape on the intended surface, creating a hinge.
Note: Designs with three or more colors will require you to place individually colored layers on your wall. Two vinyl dots (one in the upper left corner and one in the bottom right corner of each layer) will be used to help align individual layers.
Hold the bottom edge of the hinged graphic away from the intended surface and remove the back liner (which is different from the transfer tape), revealing the sticky backing of your lettering or graphic. Be careful not to allow the exposed adhesive to touch the surface.

Using a squeegee*, apply pressure to the front or pre masked side of your lettering, placing the graphic onto the intended surface. Squeegee from left to right from the top down. If creases or bubbles develop, carefully lift the graphic and re-squeegee it.
*Available for purchase with vinyl lettering.
Once in place without creases or bubbles, squeegee the entire lettering or graphic to ensure the adhesive is firmly attached to the surface.

Gently remove the pre-mask transfer tape, starting at a top corner. If any vinyl begins to come off the wall, use your squeegee to firmly adhere it back to the wall and continue peeling away the premask.

Laying the liner over the graphic with the shiny side facing you, apply hard pressure with the squeegee, removing any stubborn air bubbles.
As noted above, for vinyl lettering with three or more colors your order will have one layer per color. Repeat steps 2-7 and use the registration marks in the upper left and bottom right corners to ensure proper alignment and installation.Download or Print Vinyl Lettering Installation Instructions PDF
Care
Your vinyl lettering can be washed on a regular basis with a damp non-abrasive rag. This will clear it of dust or grime without damaging the lettering. Do not use strong cleaners or scrub vigorously as both of these actions may damage and/or peel away the lettering from the surface where applied.

EASY TO USE DESIGN TOOL

FREE PROFESSIONAL DESIGN SERVICES


Questions and Answers
You can order as many sheets as you require.